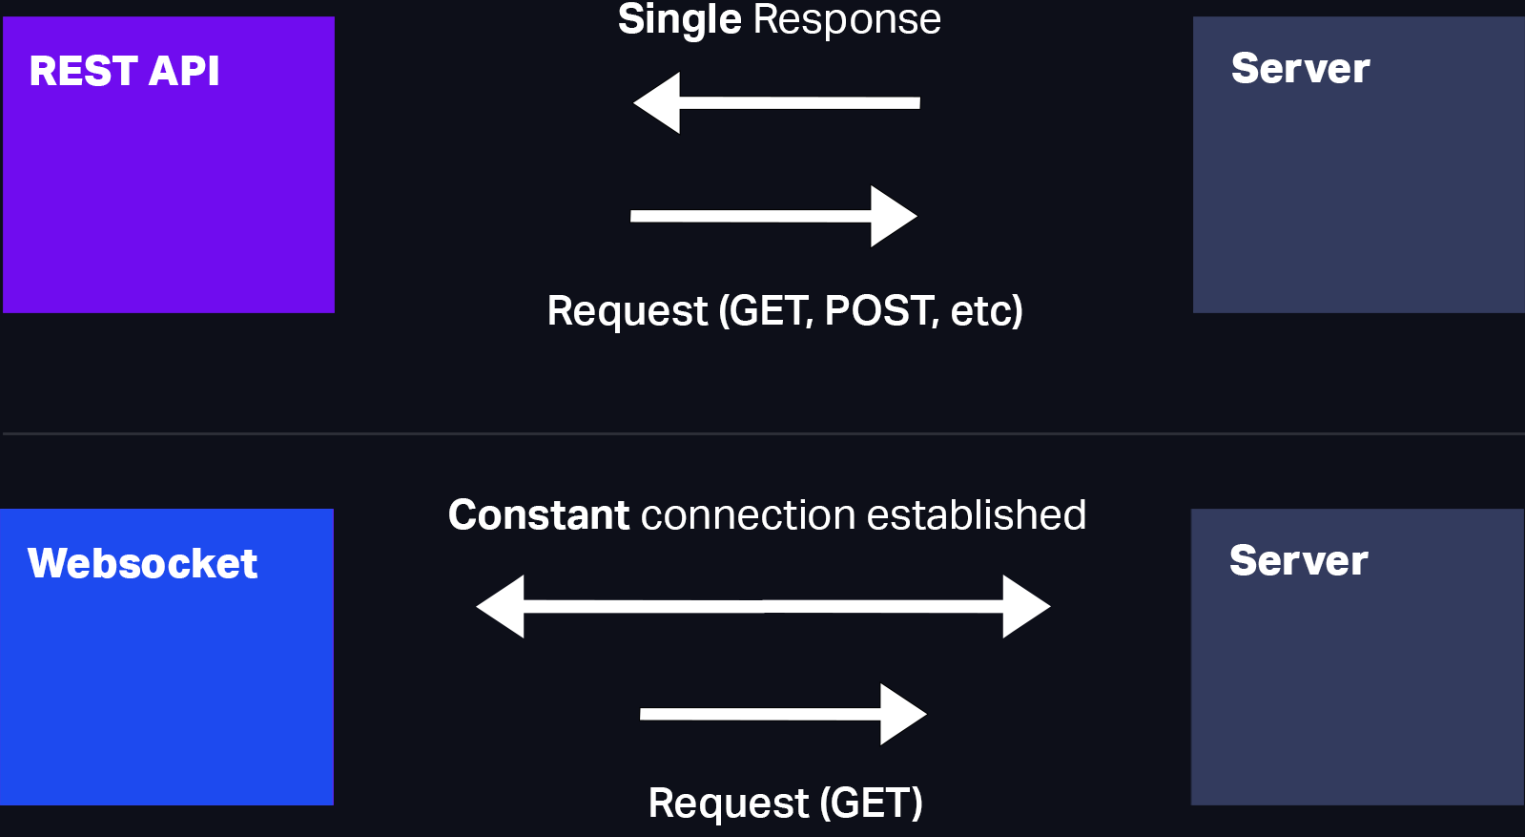
Vue3 中使用 WebSocket 的详细实现指南,基于 Composition API 和
<script setup> 语法
一、基础实现(Composition API)
1<script setup>
2import { ref, onMounted, onBeforeUnmount } from 'vue'
3
4const messages = ref([])
5const inputMsg = ref('')
6let ws = null
7
8// 初始化 WebSocket
9const initWebSocket = () => {
10  ws = new WebSocket('wss://your-websocket-url')
11
12  ws.onopen = () => {
13    console.log('WebSocket connected')
14    sendMessage({ type: 'auth', token: 'your_token' })
15  }
16
17  ws.onmessage = (event) => {
18    const data = JSON.parse(event.data)
19    messages.value.push(data) // 使用 .value 修改 ref
20  }
21
22  ws.onerror = (error) => {
23    console.error('WebSocket error:', error)
24  }
25
26  ws.onclose = (event) => {
27    console.log('WebSocket closed:', event.reason)
28  }
29}
30
31// 发送消息
32const sendMessage = (message) => {
33  if (ws?.readyState === WebSocket.OPEN) {
34    ws.send(JSON.stringify(message))
35  }
36}
37
38// 组件挂载时初始化
39onMounted(() => {
40  initWebSocket()
41})
42
43// 组件卸载时关闭连接
44onBeforeUnmount(() => {
45  ws?.close()
46})
47</script>
二、进阶封装(自定义 Composable)
创建 useWebSocket.js:
1// composables/useWebSocket.js
2import { ref, onBeforeUnmount } from 'vue'
3
4export default function useWebSocket(url) {
5  const messages = ref([])
6  const isConnected = ref(false)
7  let ws = null
8
9  const connect = () => {
10    ws = new WebSocket(url)
11
12    ws.onopen = () => {
13      isConnected.value = true
14      console.log('WebSocket connected')
15    }
16
17    ws.onmessage = (event) => {
18      messages.value.push(JSON.parse(event.data))
19    }
20
21    ws.onerror = (error) => {
22      console.error('WebSocket error:', error)
23      isConnected.value = false
24    }
25
26    ws.onclose = () => {
27      isConnected.value = false
28      console.log('WebSocket closed')
29    }
30  }
31
32  const send = (data) => {
33    if (ws?.readyState === WebSocket.OPEN) {
34      ws.send(JSON.stringify(data))
35    }
36  }
37
38  const close = () => {
39    ws?.close()
40  }
41
42  // 自动重连逻辑
43  const reconnect = () => {
44    if (!isConnected.value) {
45      setTimeout(() => {
46        console.log('Reconnecting...')
47        connect()
48      }, 3000)
49    }
50  }
51
52  onBeforeUnmount(close)
53
54  return {
55    messages,
56    isConnected,
57    connect,
58    send,
59    close,
60    reconnect
61  }
62}
在组件中使用:
1<script setup>
2import useWebSocket from '@/composables/useWebSocket'
3
4const { messages, isConnected, send } = useWebSocket('wss://your-url')
5
6// 组件挂载时连接
7onMounted(() => {
8  connect()
9})
10
11// 发送示例
12const handleSend = () => {
13  send({ type: 'message', content: 'Hello' })
14}
15</script>
三、最佳实践升级
1. 自动重连 + 心跳检测
1// 在 composable 中添加
2let reconnectAttempts = 0
3const maxReconnectAttempts = 5
4let heartbeatInterval = null
5
6const startHeartbeat = () => {
7  heartbeatInterval = setInterval(() => {
8    if (ws?.readyState === WebSocket.OPEN) {
9      send({ type: 'ping' })
10    }
11  }, 30000)
12}
13
14// 修改 connect 方法
15ws.onopen = () => {
16  isConnected.value = true
17  reconnectAttempts = 0
18  startHeartbeat()
19}
20
21ws.onclose = () => {
22  isConnected.value = false
23  clearInterval(heartbeatInterval)
24  if (reconnectAttempts < maxReconnectAttempts) {
25    reconnect()
26    reconnectAttempts++
27  }
28}
2. 使用 WebWorker 处理数据(可选)
1// 在 composable 中
2const worker = new Worker('/websocket.worker.js')
3
4ws.onmessage = (event) => {
5  worker.postMessage(event.data)
6}
7
8// worker.js
9self.onmessage = (e) => {
10  const data = JSON.parse(e.data)
11  // 执行复杂数据处理
12  self.postMessage(processedData)
13}
四、与 Pinia 集成
1. 创建 WebSocket Store
1// stores/websocket.js
2import { defineStore } from 'pinia'
3
4export const useWebSocketStore = defineStore('websocket', {
5  state: () => ({
6    messages: [],
7    isConnected: false
8  }),
9  actions: {
10    handleMessage(data) {
11      this.messages.push(data)
12    },
13    setConnectionStatus(status) {
14      this.isConnected = status
15    }
16  }
17})
2. 在 Composable 中使用 Store
1import { useWebSocketStore } from '@/stores/websocket'
2
3export default function useWebSocket(url) {
4  const store = useWebSocketStore()
5
6  // 修改消息处理
7  ws.onmessage = (event) => {
8    const data = JSON.parse(event.data)
9    store.handleMessage(data)
10  }
11
12  // 修改连接状态
13  ws.onopen = () => {
14    store.setConnectionStatus(true)
15  }
16}
五、完整示例(实时聊天)
1<template>
2  <div class="chat-container">
3    <div v-for="(msg, index) in messages" :key="index" class="message">
4      <strong>{{ msg.user }}:</strong> {{ msg.content }}
5    </div>
6    <input
7      v-model="inputMsg"
8      @keyup.enter="sendMessage"
9      placeholder="输入消息..."
10    />
11    <button @click="sendMessage">发送</button>
12  </div>
13</template>
14
15<script setup>
16import { ref, onMounted } from 'vue'
17import useWebSocket from '@/composables/useWebSocket'
18
19const { messages, send, connect } = useWebSocket('wss://chat-server')
20const inputMsg = ref('')
21
22const sendMessage = () => {
23  if (inputMsg.value.trim()) {
24    send({
25      user: '用户',
26      content: inputMsg.value
27    })
28    inputMsg.value = ''
29  }
30}
31
32onMounted(() => {
33  connect()
34})
35</script>
六、TypeScript 支持
1// composables/useWebSocket.ts
2import { ref, onBeforeUnmount } from 'vue'
3
4interface WebSocketMessage {
5  type: string
6  [key: string]: any
7}
8
9export default function useWebSocket(url: string) {
10  const messages = ref<WebSocketMessage[]>([])
11  const isConnected = ref(false)
12  let ws: WebSocket | null = null
13
14  // ...其他实现保持相同,添加类型注解...
15}
注意事项
- SSR 兼容:在 Nuxt 等 SSR 框架中需判断
window 对象存在 - 响应式优化:大数据量时使用
shallowRef 避免深度响应 - 错误边界:添加全局错误捕获
1window.addEventListener('unhandledrejection', (event) => {
2  // 处理 WebSocket 相关错误
3})
4**.浏览器限制**:注意同一域名下的并发连接数限制(Chrome 为 255)
《Vue3.0中websocket的使用-demo》 是转载文章,点击查看原文。

